“All travel destinations coming soon! Stay tuned!”


By:
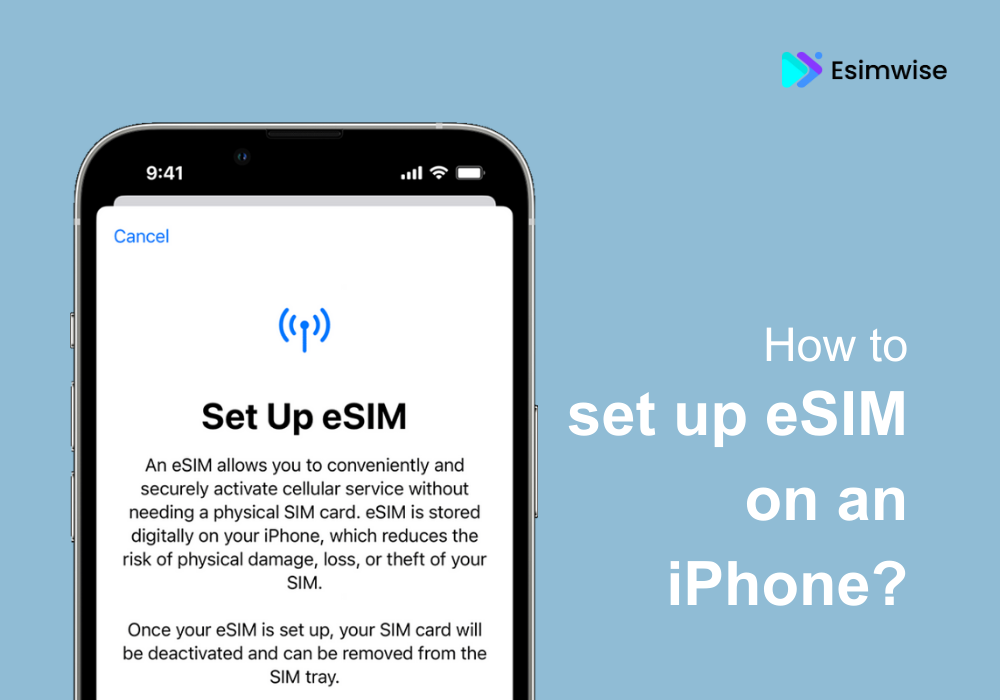
It has never been simpler to set up an eSIM on your iPhone, and with our comprehensive instructions, you can do it in just five minutes. Our expert-level tutorial streamlines the procedure so you can easily activate and utilise eSIM on your iPhone 14. You can take use of all the features of eSIM, including the ease of managing several phone numbers without a real SIM card, by following our tutorial. Embrace the future of digital connectivity and wave goodbye to the inconvenience of constantly changing SIM cards.
Ensure you have your login credentials ready. Access your eSIM account using your preferred device.
Once logged in, locate the “My eSIMs” section. This is typically where you manage and view your active eSIMs.
Scroll through the list of eSIMs until you find the one you wish to install. Click on the “Details” button associated with that specific eSIM.
Within the eSIM details, look for the “Install eSIM/Access Data” option and tap on it to start the installation process.
Navigate to the “Manual” tab located at the top of the screen. Here, you’ll find crucial information such as the SM-DP+ Address and Activation code. Make sure to note down these details or keep the page open for future reference during the installation.
Open the settings menu on your device. This is typically represented by a gear icon.
Within the settings menu, find and tap on “Cellular” or “Mobile.” This is where you manage your mobile connectivity options.
Look for the option “Add Cellular Plan” or “Add Mobile Data Plan” and tap on it to initiate the setup process.
Choose “Enter Details Manually” and input the SM-DP+ Address and Activation Code provided by your eSIM service.
If applicable, enter the Confirmation Code from your Airalo account. This may be required to validate and activate your eSIM.
Create a label or choose from available options to distinguish your new eSIM. This label will help you easily identify and manage your connections.
Under the Default Line page, select your eSIM for cellular data only. This ensures that your device prioritizes using the eSIM for mobile data.
After completing the above steps, your new eSIM should now be visible under your Cellular Data or Mobile Data Plans. Confirm the setup to enjoy the benefits of your newly added eSIM seamlessly integrated into your device.
Open the settings menu on your device by locating and tapping the gear icon.
Within the settings menu, tap on “Cellular” or “Mobile.” This is where you manage your mobile connectivity options.
Find and tap on “Add Cellular Plan” or “Add Mobile Data Plan” to initiate the eSIM setup process.
Use a printed QR code or another device displaying the QR code to scan your eSIM QR code. This ensures a quick and accurate setup.
If prompted, enter the 4-digit confirmation code provided with your eSIM. This step may be necessary to authenticate and activate your eSIM.
Create a label or choose from existing options to easily identify your eSIM. This label will help you manage and differentiate your mobile plans effectively.
Under the Default Line page, select your eSIM for cellular data only. This ensures that your device prioritizes using the eSIM for mobile data.
After completing the steps above, your new eSIM should now be visible under your Cellular Data or Mobile Data Plans. Confirm the setup to enjoy the benefits of seamless integration and enhanced connectivity.
The method of configuring eSIM on your iPhone is easy to understand. You’ll be set to go in no time if you just follow these simple steps:
Navigate to Settings on your device and select either “Cellular” or “Mobile.”
Locate your newly installed eSIM plan within the Cellular or Mobile settings and tap on it.
Toggle the “TURN ON THIS LINE” option for your eSIM. Additionally, ensure Data Roaming is enabled for seamless connectivity.
On the same page, tap on “Cellular Data Network” or “Mobile Data Network.” If required, enter the APN (access point name) provided in the eSIM installation details from your Airalo app/account.
Navigate back to Settings and select “Cellular” or “Mobile.”
Select your eSIM for Cellular Data or Mobile Data. To avoid charges on your other line, ensure “Allow Cellular Data Switching” is turned off.
Go to your eSIM settings and select the supported network for optimal performance.
Well done on successfully setting up and turning on your iPhone’s eSIM! Now that you have many cellular plans on one device, you may enjoy the amazing ease and flexibility they bring. With this new option, you can easily switch between plans and customize your smartphone usage to meet both your personal and business needs, opening up a world of possibilities.
It just takes 5 minutes to set up an eSIM on an iPhone; the process is simple and quick. To activate the eSIM, you must first get the eSIM QR code, also known as the SM-DP+ and activation code, and then follow the easy instructions. The eSIM functions just like a traditional SIM card once it is configured.
The 19-digit eSIM number required to activate eSIM on your iPhone can be obtained by contacting your network provider.
The 19-digit eSIM number will be sent to you by your network provider as an eSIM QR code. The setup instructions and data needed to activate the eSIM are all contained in this code.
Scan the eSIM QR code with your iPhone’s camera. There is no longer a need to input lengthy codes thanks to this efficient technique manually.
Once the eSIM QR code has been scanned, proceed with the on-screen directions displayed on your iPhone. eSIM QR codes make the activation procedure more precise and efficient by removing the need for tedious human code entering.
To finish the activation procedure, keep on according to the directions displayed on the screen. The eSIM QR code streamlines the procedure, enabling consumers to conveniently enjoy the advantages of having an integrated digital SIM card in their iPhones.
You may quickly and simply activate the eSIM by scanning its QR code, which improves user experience overall and does away with the inconveniences of using more conventional code-entering techniques. If this step-by-step tutorial was useful to you, please think about forwarding it to others who might find it useful.
Use these procedures to locate the eSIM IMEI number on your iPhone:
Step 1: Launch the iPhone’s Settings app.
Step 2: Press “General” and then choose “About.”
Step 3: Look for the “IMEI” section by scrolling down. There is a listing for the eSIM IMEI number.
It’s now simpler than ever to set up a cellular plan on your iPhone thanks to eSIM technology. You may enjoy the ease of having numerous cellular plans on a single smartphone by activating your eSIM in only five minutes. With eSIM, bid adieu to traditional SIM cards and welcome the future of mobile connection. Experience the flexibility and freedom it offers by giving it a try now.
If you thought this tutorial was useful, please like, share, and comment. Give others the knowledge they need to activate their eSIMs without any problem!

Instant mobile data for 150+ countries. Fast. Reliable. No sim required. No lock-in plans.


March 22, 2024
eSIM Reviews 

March 21, 2024
eSIM Reviews


March 20, 2024
eSIM Reviews
Total: USD $0