Making the move from a traditional SIM card to an eSIM can be a bit nerve-wracking. I remember feeling worried about losing my physical SIM card and not being able to switch back if I needed to. If you’re feeling the same way, you’re not alone. I went through it too.
But here’s the good news – I found out that switching back from eSIM to a physical SIM is totally possible. It happened when I took my phone in for repair, and the technicians assured me that it is an easy process.
Excited to share this useful info with you, I have put together a step-by-step guide on how to switch from eSIM to physical SIM. I will cover everything you need to know to ensure a smooth transition, addressing any worries you might have along the way.
Can I convert eSIM back to physical SIM?
No, you can’t directly convert an eSIM back to a physical SIM. Once a device is provisioned with an eSIM, the information is typically stored electronically, and the physical SIM card is not present.
eSIMs are designed to be embedded directly into the device’s hardware or activated through a QR code. The process is usually irreversible in terms of converting it back into a traditional physical SIM card.
However, the good news is you can switch back to using a physical SIM. The process is simple, and I will explain it in the next part of the section.

How to switch from eSIM to physical SIM?
Here is a detailed guide on how to switch from eSIM to physical SIM:
Step 1: Contact your carrier

First, you will need to reach out to your cellular carrier’s customer support, either by phone, online chat, or in-person at a store. Then, inform them that you would like to switch from eSIM to a physical SIM card. They will verify your account details and guide you through the process.
Step 2: Request a new physical SIM
Ask your carrier to provide you with a new physical SIM card. They might offer to mail it to your address or have it available for pickup at a store.
Step 3: Deactivate the eSIM (if necessary)
In some cases, your carrier might deactivate the eSIM remotely for you. If not, you might need to deactivate it manually:
- iPhone: Settings > Cellular > Cellular Plans > Tap the eSIM plan > Remove Cellular Plan.
- Android: Settings > Network & Internet > Mobile Network > Advanced > Carrier > Remove carrier profile.
- Other devices: Consult your device’s user manual or carrier’s instructions.
Step 4: Insert the physical SIM

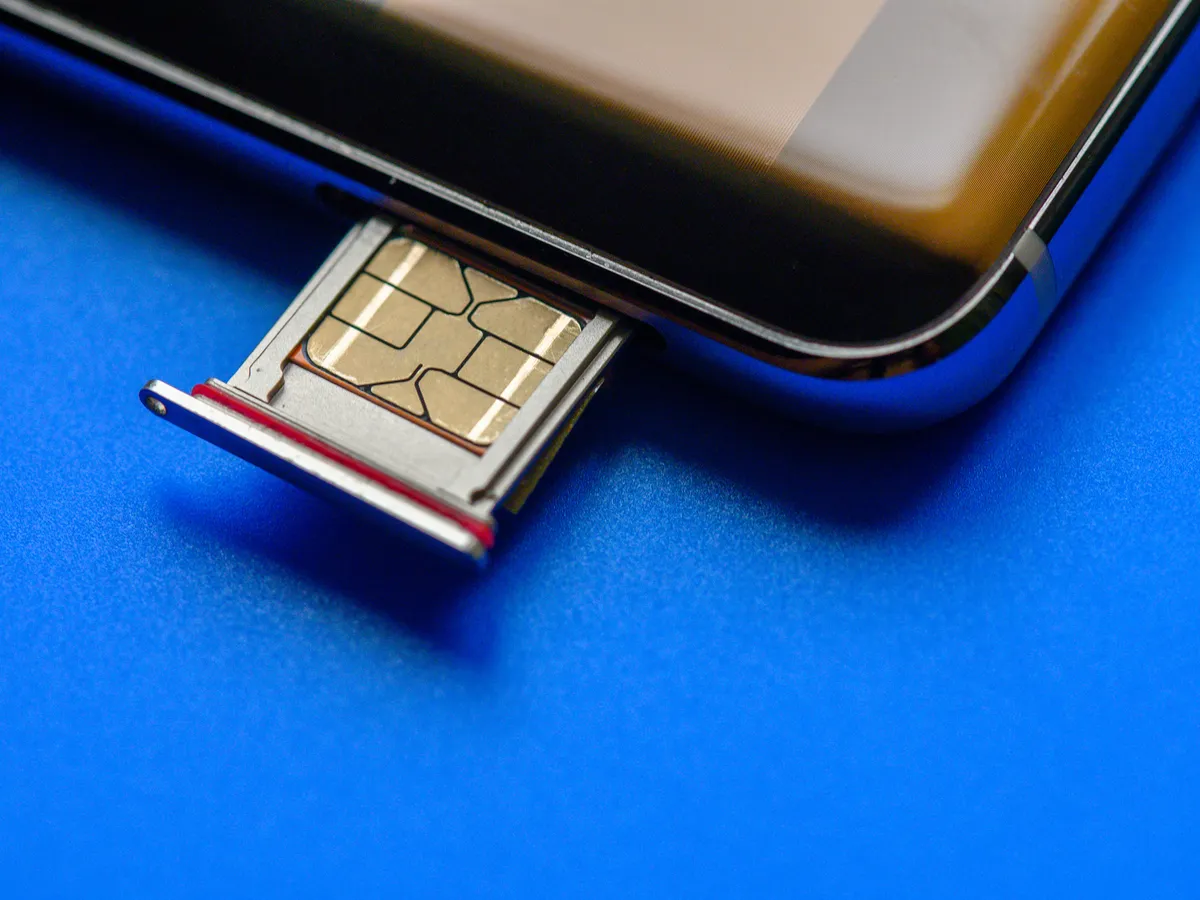
Once you have the new physical SIM, carefully insert it into your device’s SIM card slot, following the correct orientation.
Then, you need to follow your carrier’s specific instructions to activate the physical SIM card. This might involve:
- Calling a designated activation number.
- Visiting a website and entering activation codes.
- Using a carrier-specific app.
Step 5: Confirm activation
Ensure that your device now displays cellular signal bars and network connectivity. You can test calls, text messages, and data usage to confirm successful activation.
Additional considerations:
- Backup data: As a precaution, it’s always a good idea to back up your important data before making changes to SIM cards.
- Device compatibility: Verify that your device supports both eSIM and physical SIM functionality.
Wrap up
To sum up, this article has guided you through the process of how to switch from eSIM to physical SIM card. With just five simple steps, the journey from eSIM to physical SIM is uncomplicated.
Don’t leave without sharing this article with your friends. And if you have any specific questions, feel free to provide more details in the comment section, and I will do my best to assist you!


